
Category: Gadgets and Gizmos Aplenty
Dude, don’t be lazy. Just bring your camera with you already
Since the iPhone came along as the first phone with a halfway decent camera, people have become addicted to the taking and sharing of camera phone pics, some more than others. With a million photo apps to enhance your otherwise crappy smart phone photos and more apps (like instagram) to share said otherwise crappy phone photos, “phoneography” has kind of reared its head into a category of its own.
With these new found phoneographer enthusiasts (and boy, is there enthusiasm) comes the regular gamut of cases, filters, lenses, and other attachments to make your camera phone pics look better (or at least look more hipster).
Now, most of these gizmos are small enough to stow in a backpack, purse, or maybe even a pocket. Makes sense, if that’s your schtick and all. Especially if you have a keen eye, an iPhone, and a budget lacking the wiggle room to buy a digital SLR and good lenses and all that junk.
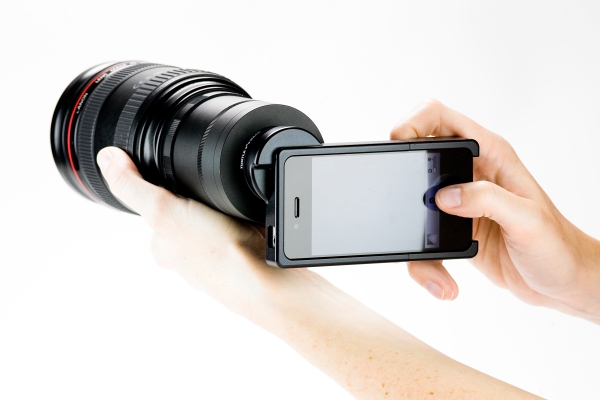
I will say, though, that things are starting to get a little out of hand. Last summer, the blogosphere was all in a tizzy of clever witticisms when this little contraption was released:

(Insert witticism)
For $250, you can attach your GIANT lens to your tiny phone in order to take manually focused photos without the luxury of adjusting your f/stop (unless your lens is so old school it has an f/stop ring on it), that come out upside down so you have to download an app to turn them around. It’s like learning French there are so many exceptions.
What’s the newest addition in iphoneography ridiculousness?

Loopholes for straps is actually a selling point
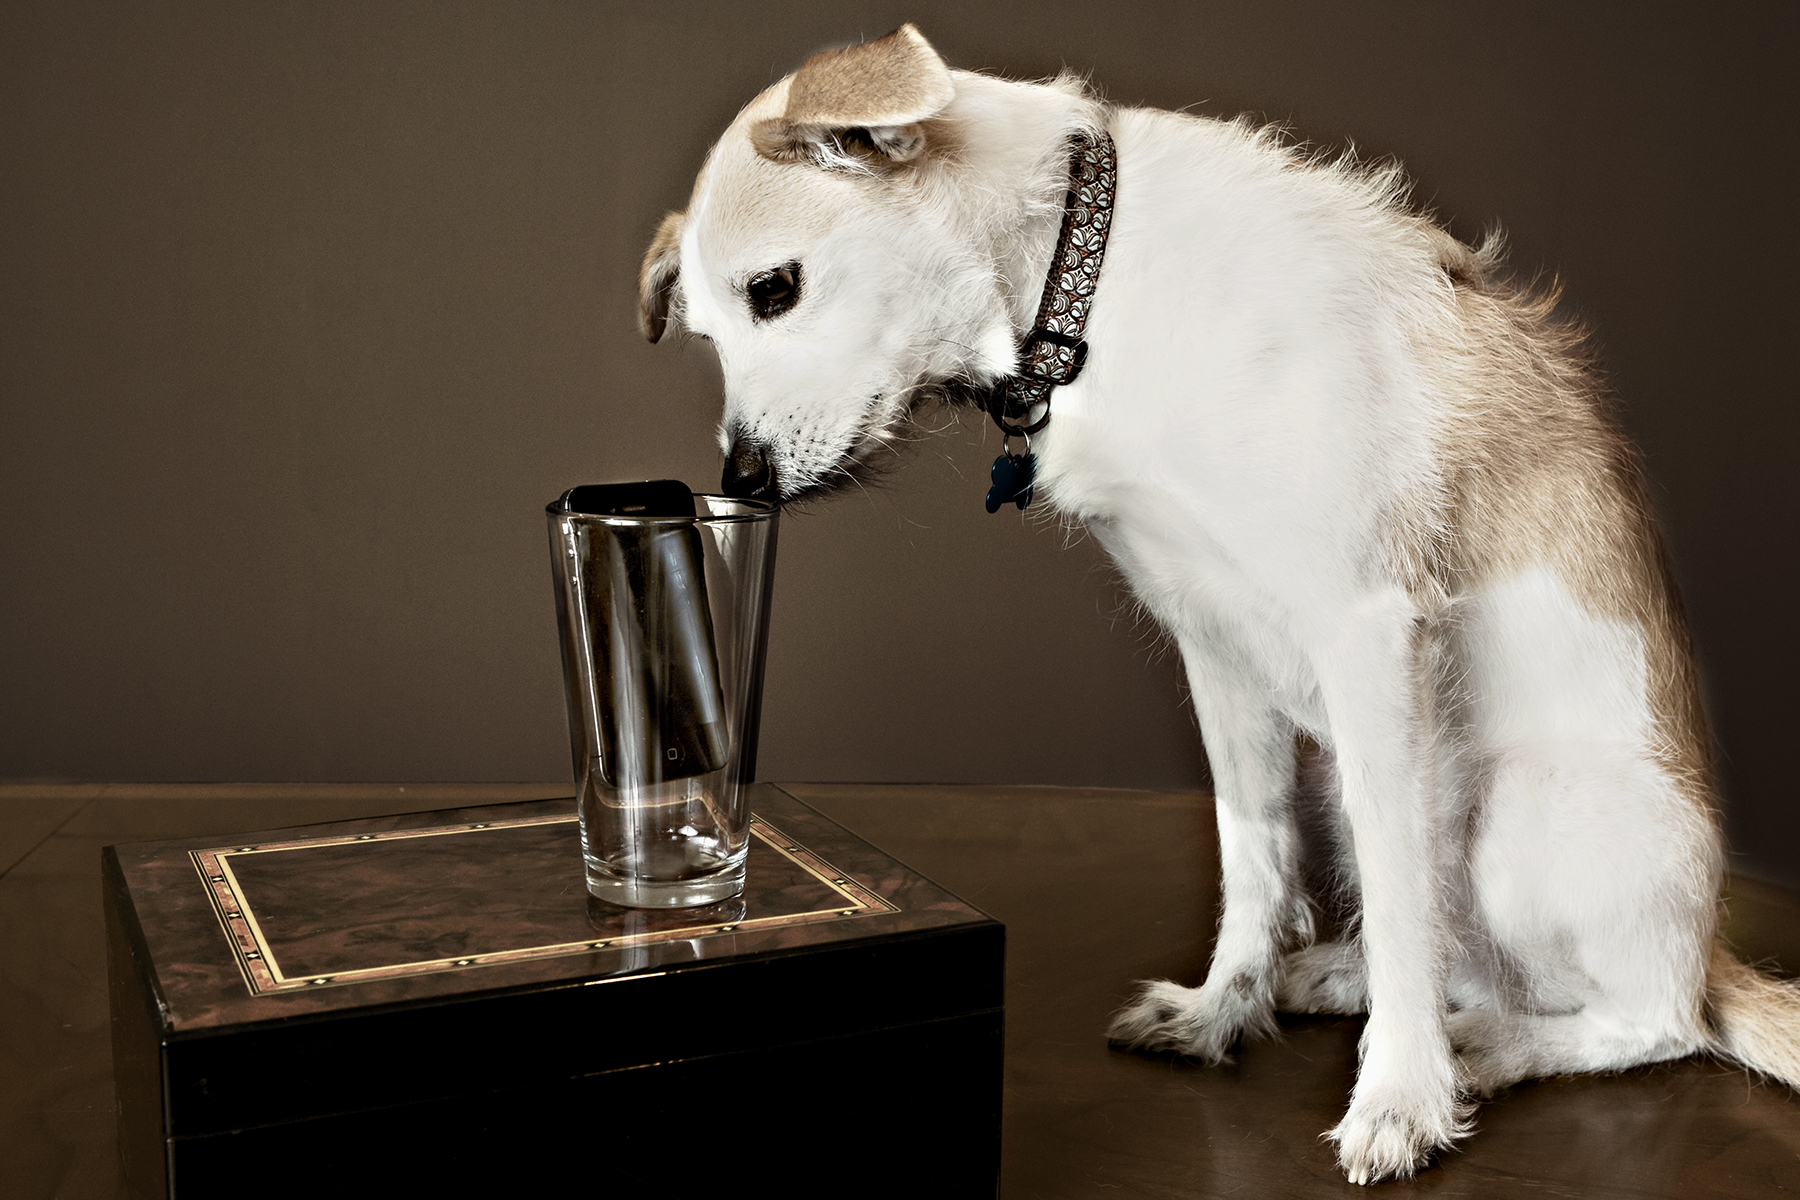
It’s the world’s most elaborate phone case ever. It looks like an old rangefinder, has a little working shutter like an old rangefinder, but it takes your photos and your phone calls. And what happens anyway when the damn thing rings? I take it you just answer the camera. Cute? Sure, but it almost seems like iphoneographers out there are just pining for the real deal.
A shift in focus
It’s happened to all of us: we grab an AWESOME shot, but upon further examination realize that a key element of said AWESOME photo is soft. Grrrr.
A company out of Silicon Valley is coming out with a new product later this year that takes focus out of the imaging equation. Yes, you read that correctly – no more out of focus images. Lytro’s camera let’s you select your focus point after the image is taken. The camera does this by capturing more light, and light from different angles, than your regular camera with a sensor called the microlens array. It basically fits a bunch of lenses into a neat and tiny package – a small point-and-shoot package to be exact. You can then go in after the fact to select your focus point in what Lytro calls a “living image.”
This new toy is garnering a lot of buzz from techno geeks and photographers alike, but a $50 million investment in the company begs the question: will it take off? In a nutshell, I say yes. Along with the obvious biggie of no out of focus shots, the camera brings some advantages to the table. To start, the time taken to focus an image is completely cut out of the process. This means no more waiting with a strained smile while the person taking the photo waits for the camera to do its thing. This combined with a lack of shutter lag makes the photo-taking experience particularly snappy.
Lytro is also working on the technology so the camera will be able to take images that are completely in focus (think Ansel Adams’ landscapes). But what about quality? Lytro has not yet made an official statement as to resolution, however, one of the prototype testers noted that there was no discrepancy between the resolution of the Lytro camera and his regular point-and-shoots. In addition to the technology, Lytro is in the process of making the images available to the usual suspects, namely Facebook and the iPad. To top it all off, Lytro images can be viewed in 3D, with the dorky glasses of course.
Another big looming question pertains to cost. Lytro has stated that the cameras will be available for the consumer market, meaning probably the lower end of hundreds of dollars. The release is expected late this year. Clearly the announcement of this new technology inspires more questions than it answers. Will I still be able to edit them in Photoshop? Will they even be jpgs? What about zoom? The FAQ page on Lytro’s blog answers some questions. Interested parties can keep tabs by reading the blog or signing up for the email list.
The video below explains a little more. For a fully interactive experience, check out their picture gallery.
A clean photo is a happy photo
There is nothing worse than going in to edit some photos and seeing dust all over your images. Dust is a nasty little devil that can really give you a headache in post production. Dust on your images can come from a few different places: your lens, the subject itself or your image sensor (assuming you are using a DSLR – if not move along, this post is not for you). Dust on any or all of these areas can lead to a really dirty photo, like this:
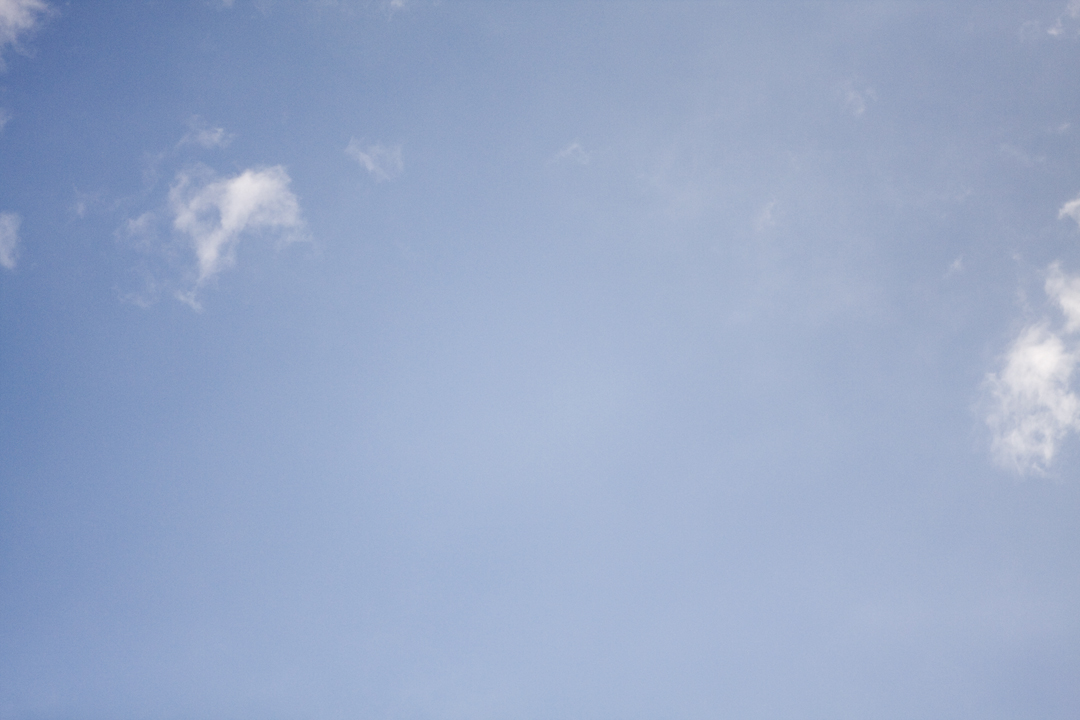
 If you click on the image to enlarge, you can see the image is extremely dirty, and would take quite a bit of time to take out all those little specks. A good way to tell if you have dust on your equipment is to take a picture of the sky, as this is where these little monsters show up best. Keep in mind I am talking about dust on the final image, not when you look through your camera. Dust can often collect on your viewfinder or mirrors, but those dust particles will not end up on your final image.
Getting rid of dust is relatively intuitive: clean it! This is pretty self-explanatory for your subject matter and your lenses. Investing in a good anti-static lens cloth is definitely worth it, and not too terribly expensive. In my experience, the lens paper works okay but can also leave its own little particles behind. Cleaning your sensor, however, is a different story and can be scary. You can opt to take it somewhere to do it. The plus side to this is they accept the liability should your sensor get damaged in the process. However, another photographer once complained to me, “I paid 50 @#$% dollars to watch him swab a @#$% stick and stick it in there.” So. If something like that would anger you, I would suggest buying a swab and doing it yourself. I got two different types of cleaning devices:

$13.99 for pack of four

$6.95 with two “cleaning pads” (aka alcohol swabs)
First, remove your lens or body cover. Then go into your camera menu and find the “Sensor Clean” function. This flips up the mirror and exposes the sensor for cleaning until you turn off the camera.
I will start with the “Speck Grabber Pro.”
Overall Rating: meh
Pros: Reusable, alcohol swabs can be replaced cheaply, cheaper price.
Cons: The tool needs to be cleaned quite often or else you risk dragging a fleck of dust across your sensor, thus scratching it. Use of this tool also requires an extremely light touch.
Overall, it wasn’t an easy process. It also comes with teeny tiny directions that mostly cover any liability on the company should you accidentally damage your sensor. That many warnings can make one nervous about how often the tool has damaged a sensor. (I practiced first on my old 10D just in case.)

Hi there, pointy little rubber thing. You’re not gonna hurt my camera, are you?
Now, the Sensor Swab:
Overall Rating: Yay!
Pros: The swab is shaped just the right size for your sensor. The process is much easier, just wipe across and back. No cleaning. Instructions were clear and simple despite the fact that I ripped them apart while opening the package.
Cons: They are a more expensive option, and you have to make sure you are buying the right one for your type of sensor.
This swab was really easy to use, and the instructions even tell you how much pressure to apply (push until the stick bends a little), so you know you aren’t doing it too hard. I could also see the dust flecks on the swab after i finished. I don’t know why this makes it better, but it provided resolution to the process. I could look at those little dusties and say, “Aha! Gotcha!”

So the winner is: Sensor Swab, due to its ease of use and lack of maintenance. Now I am ready to shoot clean. Are you?

Pardon me if I don’t jump for joy

We all knew it was coming eventually. With the dawn of the iPhone bringing virtually everything to ones fingertips and CNN quoting personal accounts of the public from Twitter during natural disasters and the like, all the ink stained folks in news rooms worldwide knew the inevitable was bound to happen: Citizen journalism on steroids. Regular people out in the streets, reporting news from their laptops/smartphones/whathaveyou, and the media conglomerates eating it up for the sake of free content, faster news and cost cutting. The horror.
Okay, so maybe the New York Times isn’t about to lay off their whole staff of writers in exchange for citizens posting breaking news bits 140 characters at a time. However, an often overlooked branch of journalism is at risk. A new “photojournalism” iPhone app is on the horizon.

Tackable is in the process of releasing an app that serves as part image gathering, part social networking tool in which the public can share photos of what’s going on (aka “breaking news”) from any location with participating news orgs. The greater vision isn’t bad. Assuming enough people participate, the ultimate idea is that if something happens anywhere in the world you can click on a map and see photos of what’s going on in any particular place. Suddenly a paper wanting to post the story no longer has to wait for their photog to get to the scene while happenings unfold.
Tackable is currently working with 34 Bay Area papers on this project, set to launch in “early 2o11” according to their site. Editors can post assignments and anyone using the app can submit a photo. To encourage participation they are offering incentives (ie: a free donut – thanks for the heart attack btw) to anyone whose photo gets picked up. Poynter has a thorough breakdown of the process. It basically works like this: editors can post assignments that show up on a map, the public can pick them up and submit photos, and the editors can then in turn update their story in images as events unfolds. Users of the app can also submit images unsolicited by participating news outlets. Should, you know, you’re out and about and the shit hits the fan. Or, more likely, people decide that whatever they are doing is of the utmost importance and post images upon images of their dogs/babies/apartment walls.
Particularly after the unrest in the Middle East, this sounds enticing. Imagine if this app launched before the protests in Cairo. Visual updates would be posted by the second, no longer by the hour or minute. I can envision the Tackable feed running on CNN. The potential is staggering. In the middle of all this buzz, I can’t help but ask: what does this mean for the photojournalist? Will there be some kind of protocol as far as captions are concerned? I also imagine some kind of copyright-for-editorial-use hidden with a T&C situation that no one will read.
It’s no secret that newspapers are not exactly the cash cows they were before Craigslist, and the intertoobs in general, took a giant chunk out of their revenue. Budgets are tight, buyouts are ubiquitous, and jobs as a “photojournalist” are far and few between. Looking at the bottom line, free images faster are better than hiring a professional to do the job right.
Coming from someone with a degree in photojournalism, the thought of the public replacing jobs with an iPhone camera makes me cringe a little. Okay, it makes me cringe a lot. As of late, the artistic integrity of a paper has already taken a backseat to the greater issues affecting newspapers today. While every photo submission won’t make for a compelling image, 1 in 100 might. Assuming this app takes off, what does this mean for the professional photojournalist? Will the word itself even morph into a new definition of any kid with an iPhone? Are career photojournalists suddenly a dying breed? One can only hope that a heavy sprinkling of outfits will do their best to sell stories to eyeballs with a better photograph than the next guy.
While the thought of all those photogs out of work is unsettling, I have to admit that expanding the “fourth estate” to anyone with an iPhone is slightly awesome. Political figures will literally have to watch their backs and TMZ will go nuts collecting images of celebrities misbehaving in public. Lindsay Lohan, this means you.
For photojournalists out there, don’t go quitting your jobs. The thought of leaving all news images to the public is a little scary for everyone on the proverbial news corp ladder. Hopefully the whole thing will work to supplement our hardworking photogs and leave them open to working on more meaningful material instead of chasing ambulances and firetrucks. Or maybe the photogs out there should at least update their resumes/portfoliso. Or, maybe, we should set up some kind of collection bowl in which we obtain a dime every time someone asks us that inevitable question: “Have you ever considered shooting weddings?”
The Digital Pinhole
Pinhole photography has always been swathed in romance. After all, how can a camera so primitive yield such rich and dreamy results? In the digital age, however, the use of pinhole cameras has dwindled right along with film. The only photographers left using them are a few die-hards that are now the stuff of feature stories because their age-old processes make them unique. For those of us that have thrown film and negatives to the wayside, don’t fret! This is the age, after all, of technology and one can create pinhole images using their digital cameras.
The idea is rather simple, and many DIY photogs figured it out a while ago. All you need is a hole the size of a pin attached to your camera body. This led to a host of folks poking holes in their camera body caps and doing a lot of trial and error when it comes to exposure. Yes folks, in this age of technology the pinhole still maintains its primitive heritage. The one problem with this do-it-yourself pinhole “lens” is of course dust. Some people are quite uncomfortable exposing the image sensor on their multi-thousand-dollar camera bodies to the elements. The folks at Pinhole Resource have responded to this niche market with a pinhole body cap conveniently equipped with (drum roll please……..) a tiny piece of plastic covering that little hole! I repeat: yes folks, in this age of technology the pinhole still maintains its primitive heritage. I happened to receive one of these bad boys for Christmas, and here are the pro’s and con’s.
Pros:
- It’s cheap. At around $50, this is even cheaper than those cruddy kit lenses camera stores sell to amateurs.
- While the effect may not be exactly what you had in mind, the results definitely fall into the “dreamy” category.
- While digital remains king and megapixels are rising faster than the stock market, the trends at the moment are leaning towards vintage and low-fi.With the digital pinhole cap, your images step backwards and retain a little of that film-esque, low-fi look.
- It does, in fact, protect your sensor from dust.
Cons
- It’s a fixed f stop of 166. This makes a tripod necessary, even in full sun.
- You can forget about framing your image through the viewfinder. In full sun and if you shield your eyes, you can see a faint outline of what’s in the frame through the viewfinder. Otherwise it’s guesswork.
- The pinhole cap only works on manual. For those of you that shoot on auto settings, suck it up and put it on manual. It will be good for you, I promise.
- Everything photography school tells us would make you think with such an extreme f stop the images would besharp as a tack no matter the depth of field, but they are not. If you are the type that’s not into “soft focus is art,” move along, this product is not for you.

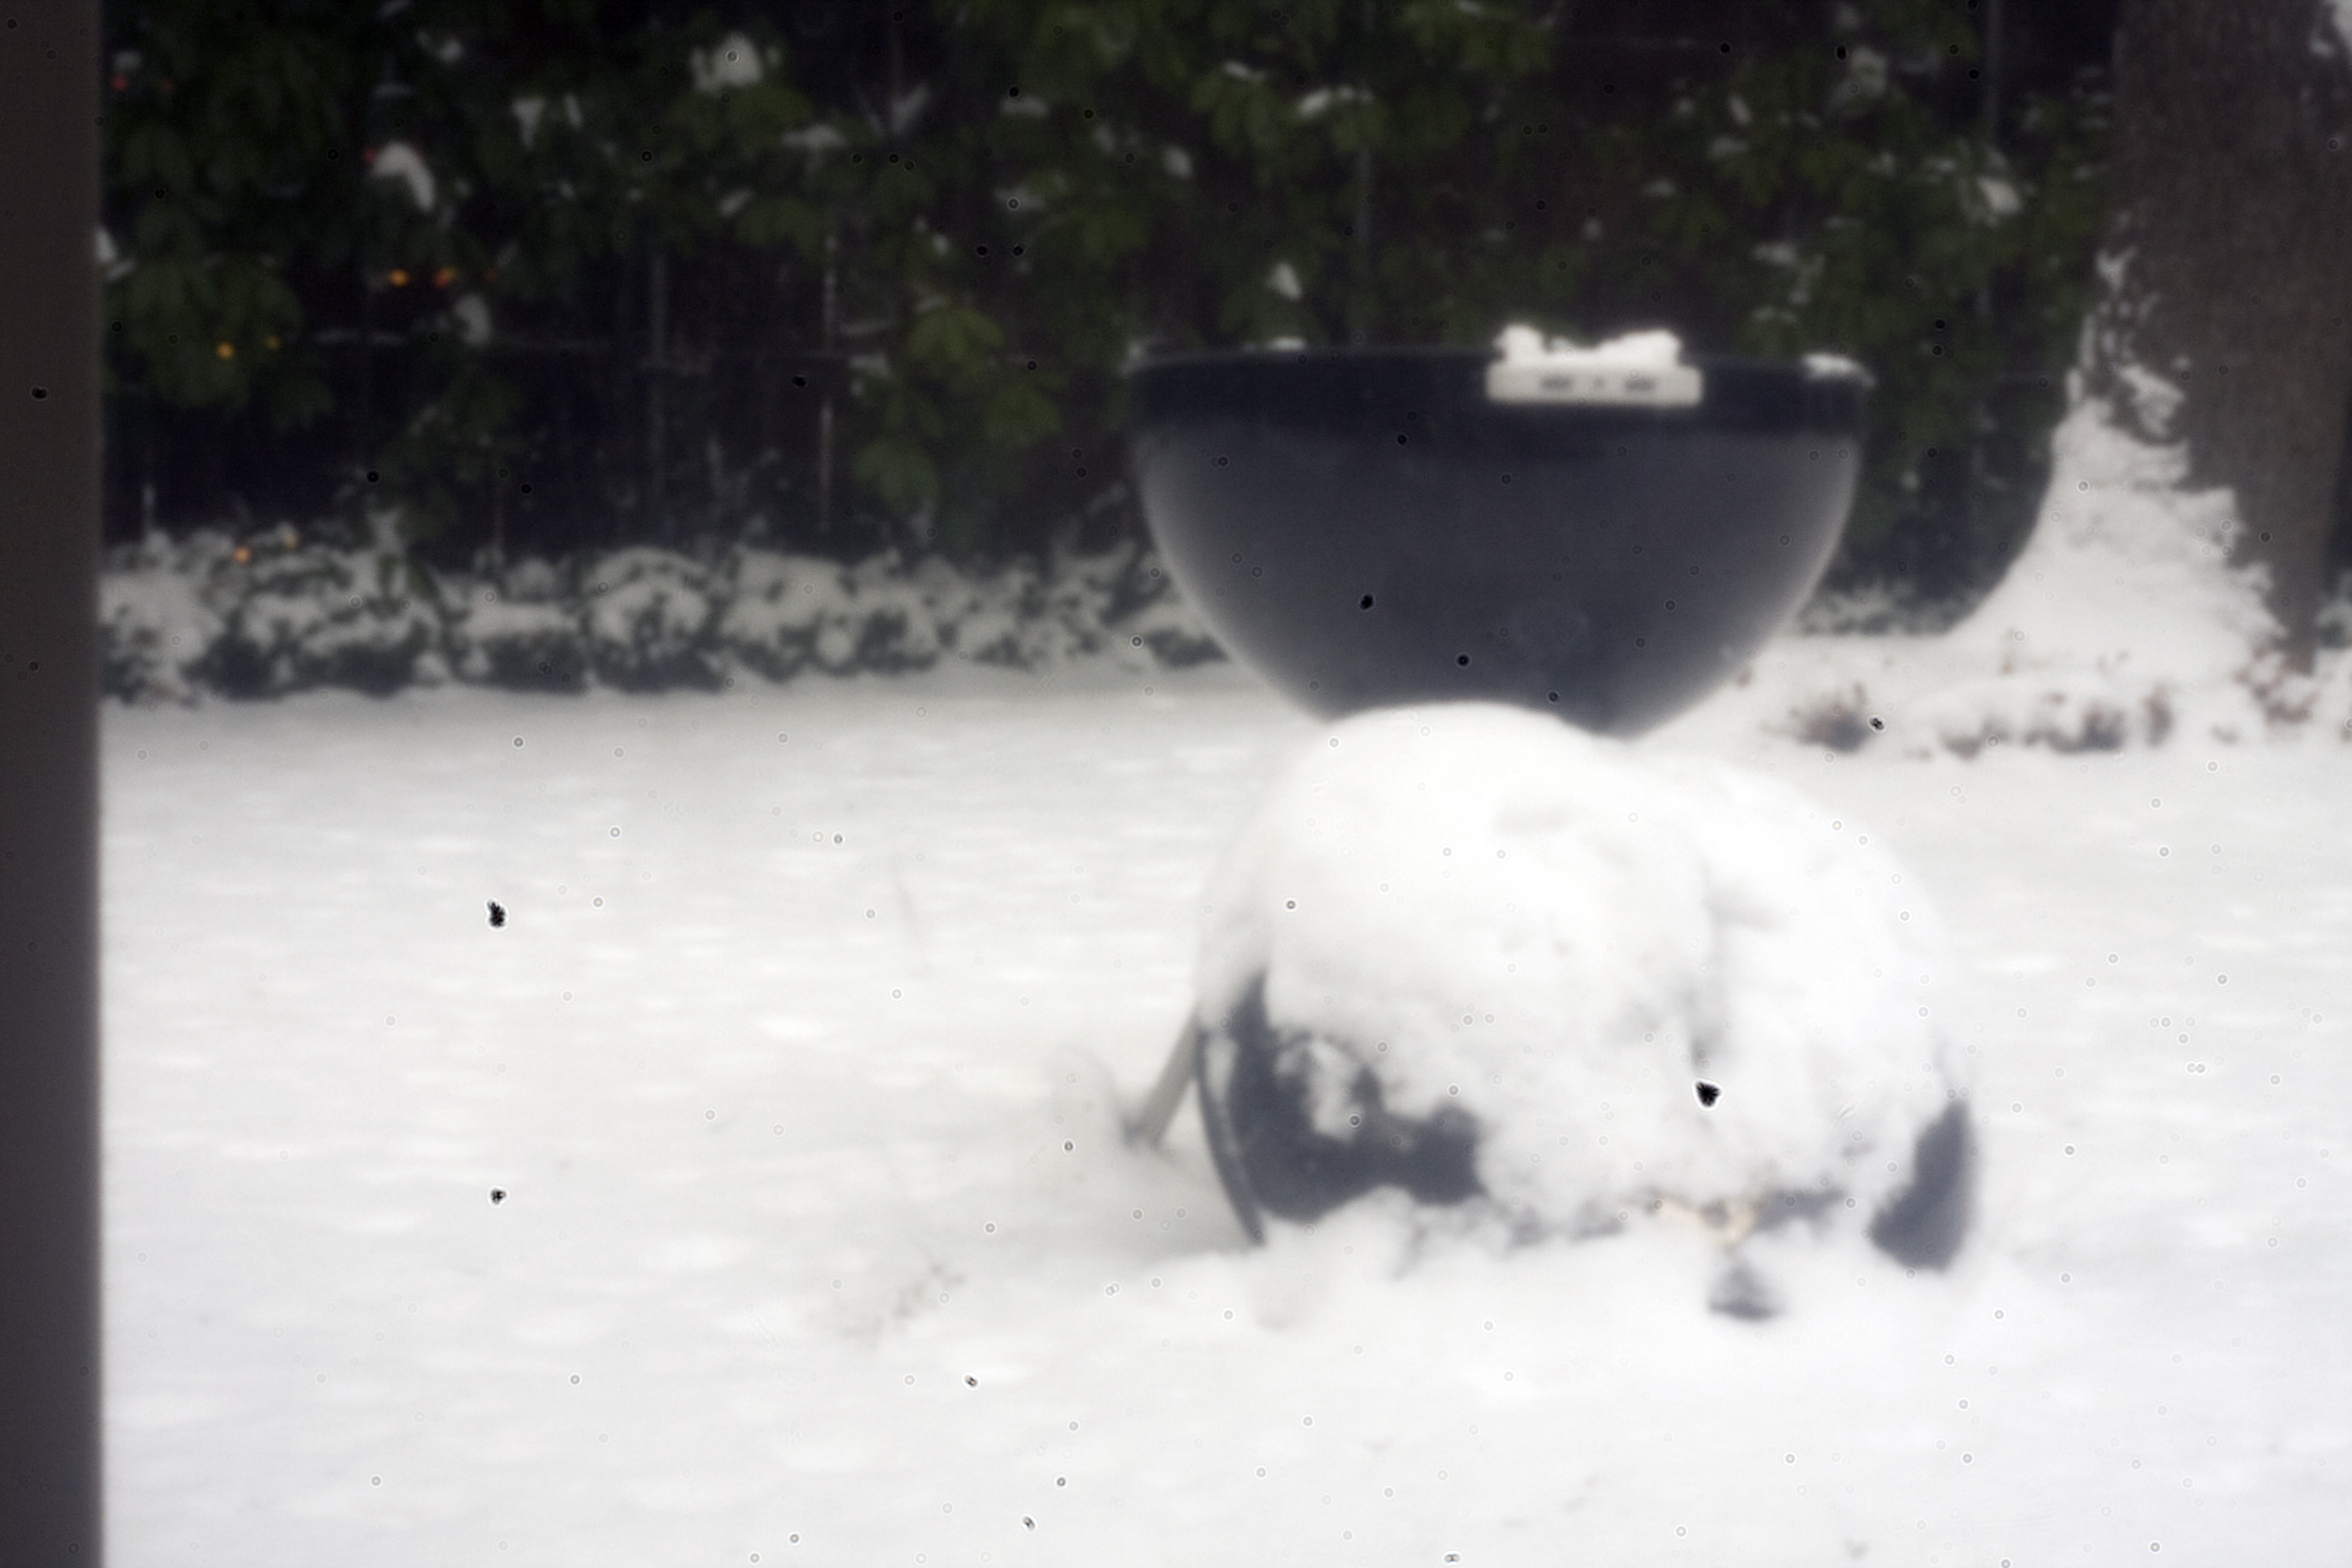
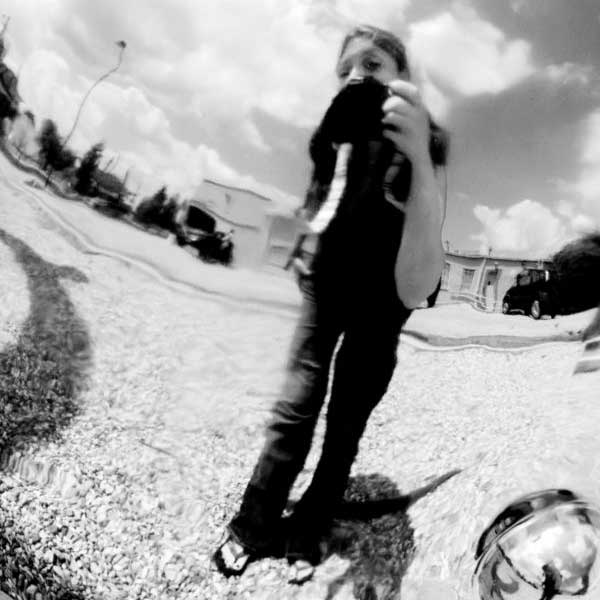
This was shot at f 166, 4 second exposure
Finally, I have taken (almost) the same image with the pinhole cap and my Canon 24-70L series with the zoom at 50mm to show you an example of what to expect.

Shot at f 22, 1/25
As you can see upon further examination, my image sensor needs to be cleaned. Next up in Gadgets and Gizmos: image sensor cleaning kits. A how-to and are they worth it?
About Me
After a photojournalism degree and a short stint as a lead photographer/photo editor at a news web site, I decided it was time to branch out on my own. I specialize in editorial food and travel photography but dabble in a little bit of everything.