
Tag: photography
A clean photo is a happy photo
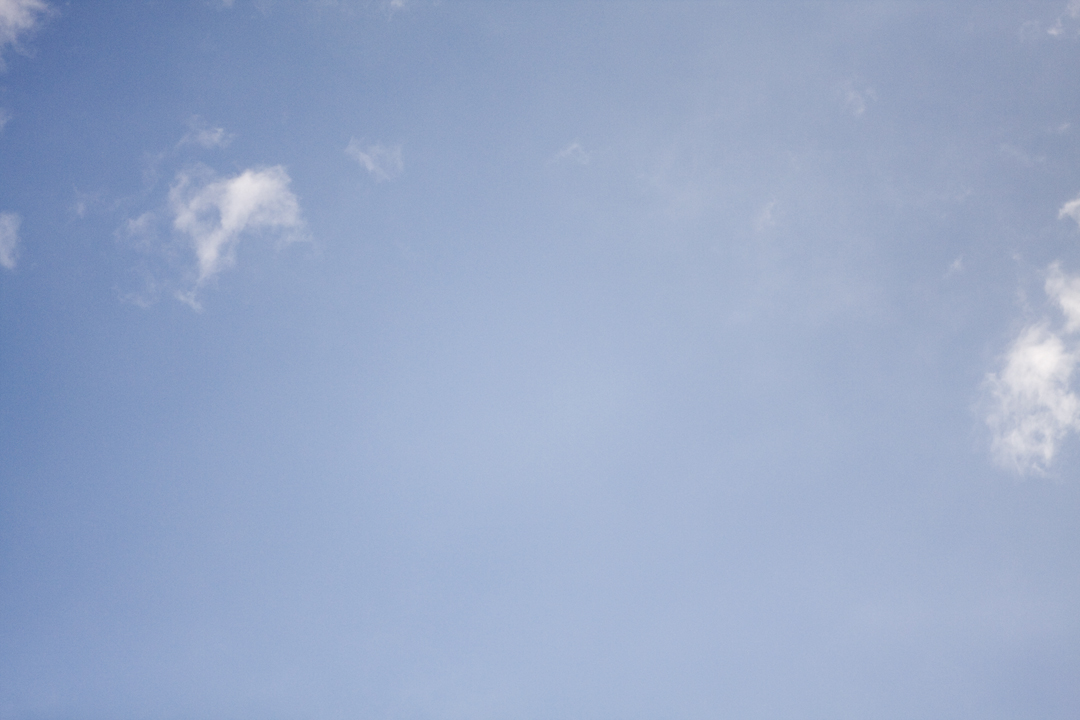
There is nothing worse than going in to edit some photos and seeing dust all over your images. Dust is a nasty little devil that can really give you a headache in post production. Dust on your images can come from a few different places: your lens, the subject itself or your image sensor (assuming you are using a DSLR – if not move along, this post is not for you). Dust on any or all of these areas can lead to a really dirty photo, like this:
 If you click on the image to enlarge, you can see the image is extremely dirty, and would take quite a bit of time to take out all those little specks. A good way to tell if you have dust on your equipment is to take a picture of the sky, as this is where these little monsters show up best. Keep in mind I am talking about dust on the final image, not when you look through your camera. Dust can often collect on your viewfinder or mirrors, but those dust particles will not end up on your final image.
Getting rid of dust is relatively intuitive: clean it! This is pretty self-explanatory for your subject matter and your lenses. Investing in a good anti-static lens cloth is definitely worth it, and not too terribly expensive. In my experience, the lens paper works okay but can also leave its own little particles behind. Cleaning your sensor, however, is a different story and can be scary. You can opt to take it somewhere to do it. The plus side to this is they accept the liability should your sensor get damaged in the process. However, another photographer once complained to me, “I paid 50 @#$% dollars to watch him swab a @#$% stick and stick it in there.” So. If something like that would anger you, I would suggest buying a swab and doing it yourself. I got two different types of cleaning devices:

$13.99 for pack of four

$6.95 with two “cleaning pads” (aka alcohol swabs)
First, remove your lens or body cover. Then go into your camera menu and find the “Sensor Clean” function. This flips up the mirror and exposes the sensor for cleaning until you turn off the camera.
I will start with the “Speck Grabber Pro.”
Overall Rating: meh
Pros: Reusable, alcohol swabs can be replaced cheaply, cheaper price.
Cons: The tool needs to be cleaned quite often or else you risk dragging a fleck of dust across your sensor, thus scratching it. Use of this tool also requires an extremely light touch.
Overall, it wasn’t an easy process. It also comes with teeny tiny directions that mostly cover any liability on the company should you accidentally damage your sensor. That many warnings can make one nervous about how often the tool has damaged a sensor. (I practiced first on my old 10D just in case.)

Hi there, pointy little rubber thing. You’re not gonna hurt my camera, are you?
Now, the Sensor Swab:
Overall Rating: Yay!
Pros: The swab is shaped just the right size for your sensor. The process is much easier, just wipe across and back. No cleaning. Instructions were clear and simple despite the fact that I ripped them apart while opening the package.
Cons: They are a more expensive option, and you have to make sure you are buying the right one for your type of sensor.
This swab was really easy to use, and the instructions even tell you how much pressure to apply (push until the stick bends a little), so you know you aren’t doing it too hard. I could also see the dust flecks on the swab after i finished. I don’t know why this makes it better, but it provided resolution to the process. I could look at those little dusties and say, “Aha! Gotcha!”

So the winner is: Sensor Swab, due to its ease of use and lack of maintenance. Now I am ready to shoot clean. Are you?

A Day in Pictures
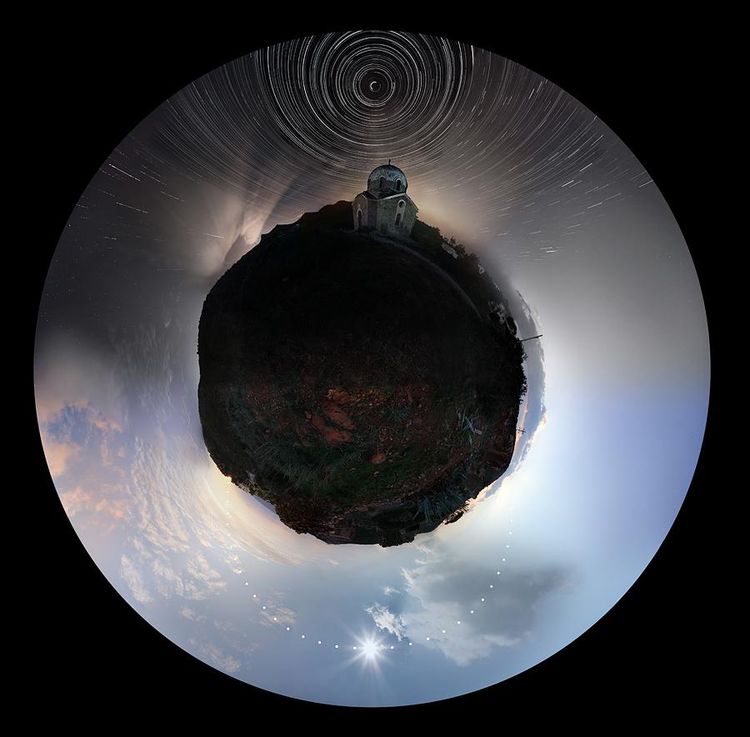
A common photo project, especially for newbies, is some variation of “a day in photographs,” meaning you keep a camera with you for a full day and shoot whatever strikes your fancy. I had to do a project like this in college, and might very well dedicate a whole 24-hours to shooting personal work again one day. Then once in a while you come across a photographer like Greek photog Chris Kotsiopoulos who takes a simple idea like “a day in pictures” and takes it to the next level and then some.
Kostiopoulos photographed the sky for 24 hours, capturing the movement of the sun, star trails, and even the Temple of Poseidon. After 30 hours of shooting and 12 hours in post production, his final image is nothing short of amazing. Read more about his process at Earth and Science. Also take a few minutes (if you could use a distraction from your work day) to check out the other images on his website, boasting beautiful sky and star pictures in addition to star trails galore.

©Chris Kotsiopoulos
The Digital Pinhole
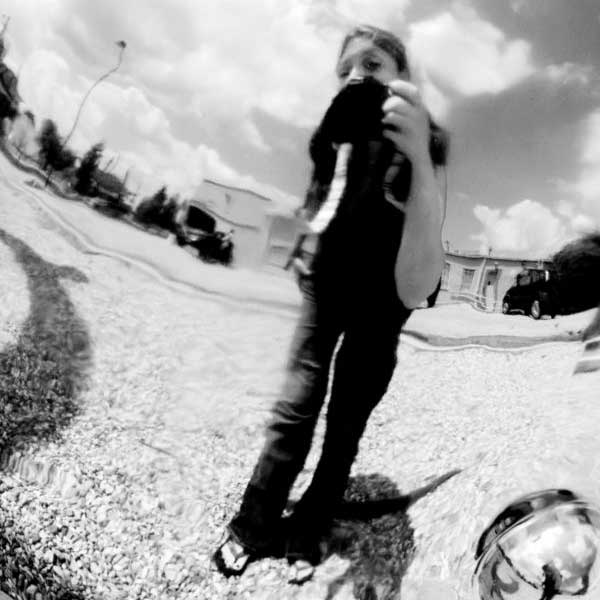
Pinhole photography has always been swathed in romance. After all, how can a camera so primitive yield such rich and dreamy results? In the digital age, however, the use of pinhole cameras has dwindled right along with film. The only photographers left using them are a few die-hards that are now the stuff of feature stories because their age-old processes make them unique. For those of us that have thrown film and negatives to the wayside, don’t fret! This is the age, after all, of technology and one can create pinhole images using their digital cameras.
The idea is rather simple, and many DIY photogs figured it out a while ago. All you need is a hole the size of a pin attached to your camera body. This led to a host of folks poking holes in their camera body caps and doing a lot of trial and error when it comes to exposure. Yes folks, in this age of technology the pinhole still maintains its primitive heritage. The one problem with this do-it-yourself pinhole “lens” is of course dust. Some people are quite uncomfortable exposing the image sensor on their multi-thousand-dollar camera bodies to the elements. The folks at Pinhole Resource have responded to this niche market with a pinhole body cap conveniently equipped with (drum roll please……..) a tiny piece of plastic covering that little hole! I repeat: yes folks, in this age of technology the pinhole still maintains its primitive heritage. I happened to receive one of these bad boys for Christmas, and here are the pro’s and con’s.
Pros:
- It’s cheap. At around $50, this is even cheaper than those cruddy kit lenses camera stores sell to amateurs.
- While the effect may not be exactly what you had in mind, the results definitely fall into the “dreamy” category.
- While digital remains king and megapixels are rising faster than the stock market, the trends at the moment are leaning towards vintage and low-fi.With the digital pinhole cap, your images step backwards and retain a little of that film-esque, low-fi look.
- It does, in fact, protect your sensor from dust.
Cons
- It’s a fixed f stop of 166. This makes a tripod necessary, even in full sun.
- You can forget about framing your image through the viewfinder. In full sun and if you shield your eyes, you can see a faint outline of what’s in the frame through the viewfinder. Otherwise it’s guesswork.
- The pinhole cap only works on manual. For those of you that shoot on auto settings, suck it up and put it on manual. It will be good for you, I promise.
- Everything photography school tells us would make you think with such an extreme f stop the images would besharp as a tack no matter the depth of field, but they are not. If you are the type that’s not into “soft focus is art,” move along, this product is not for you.

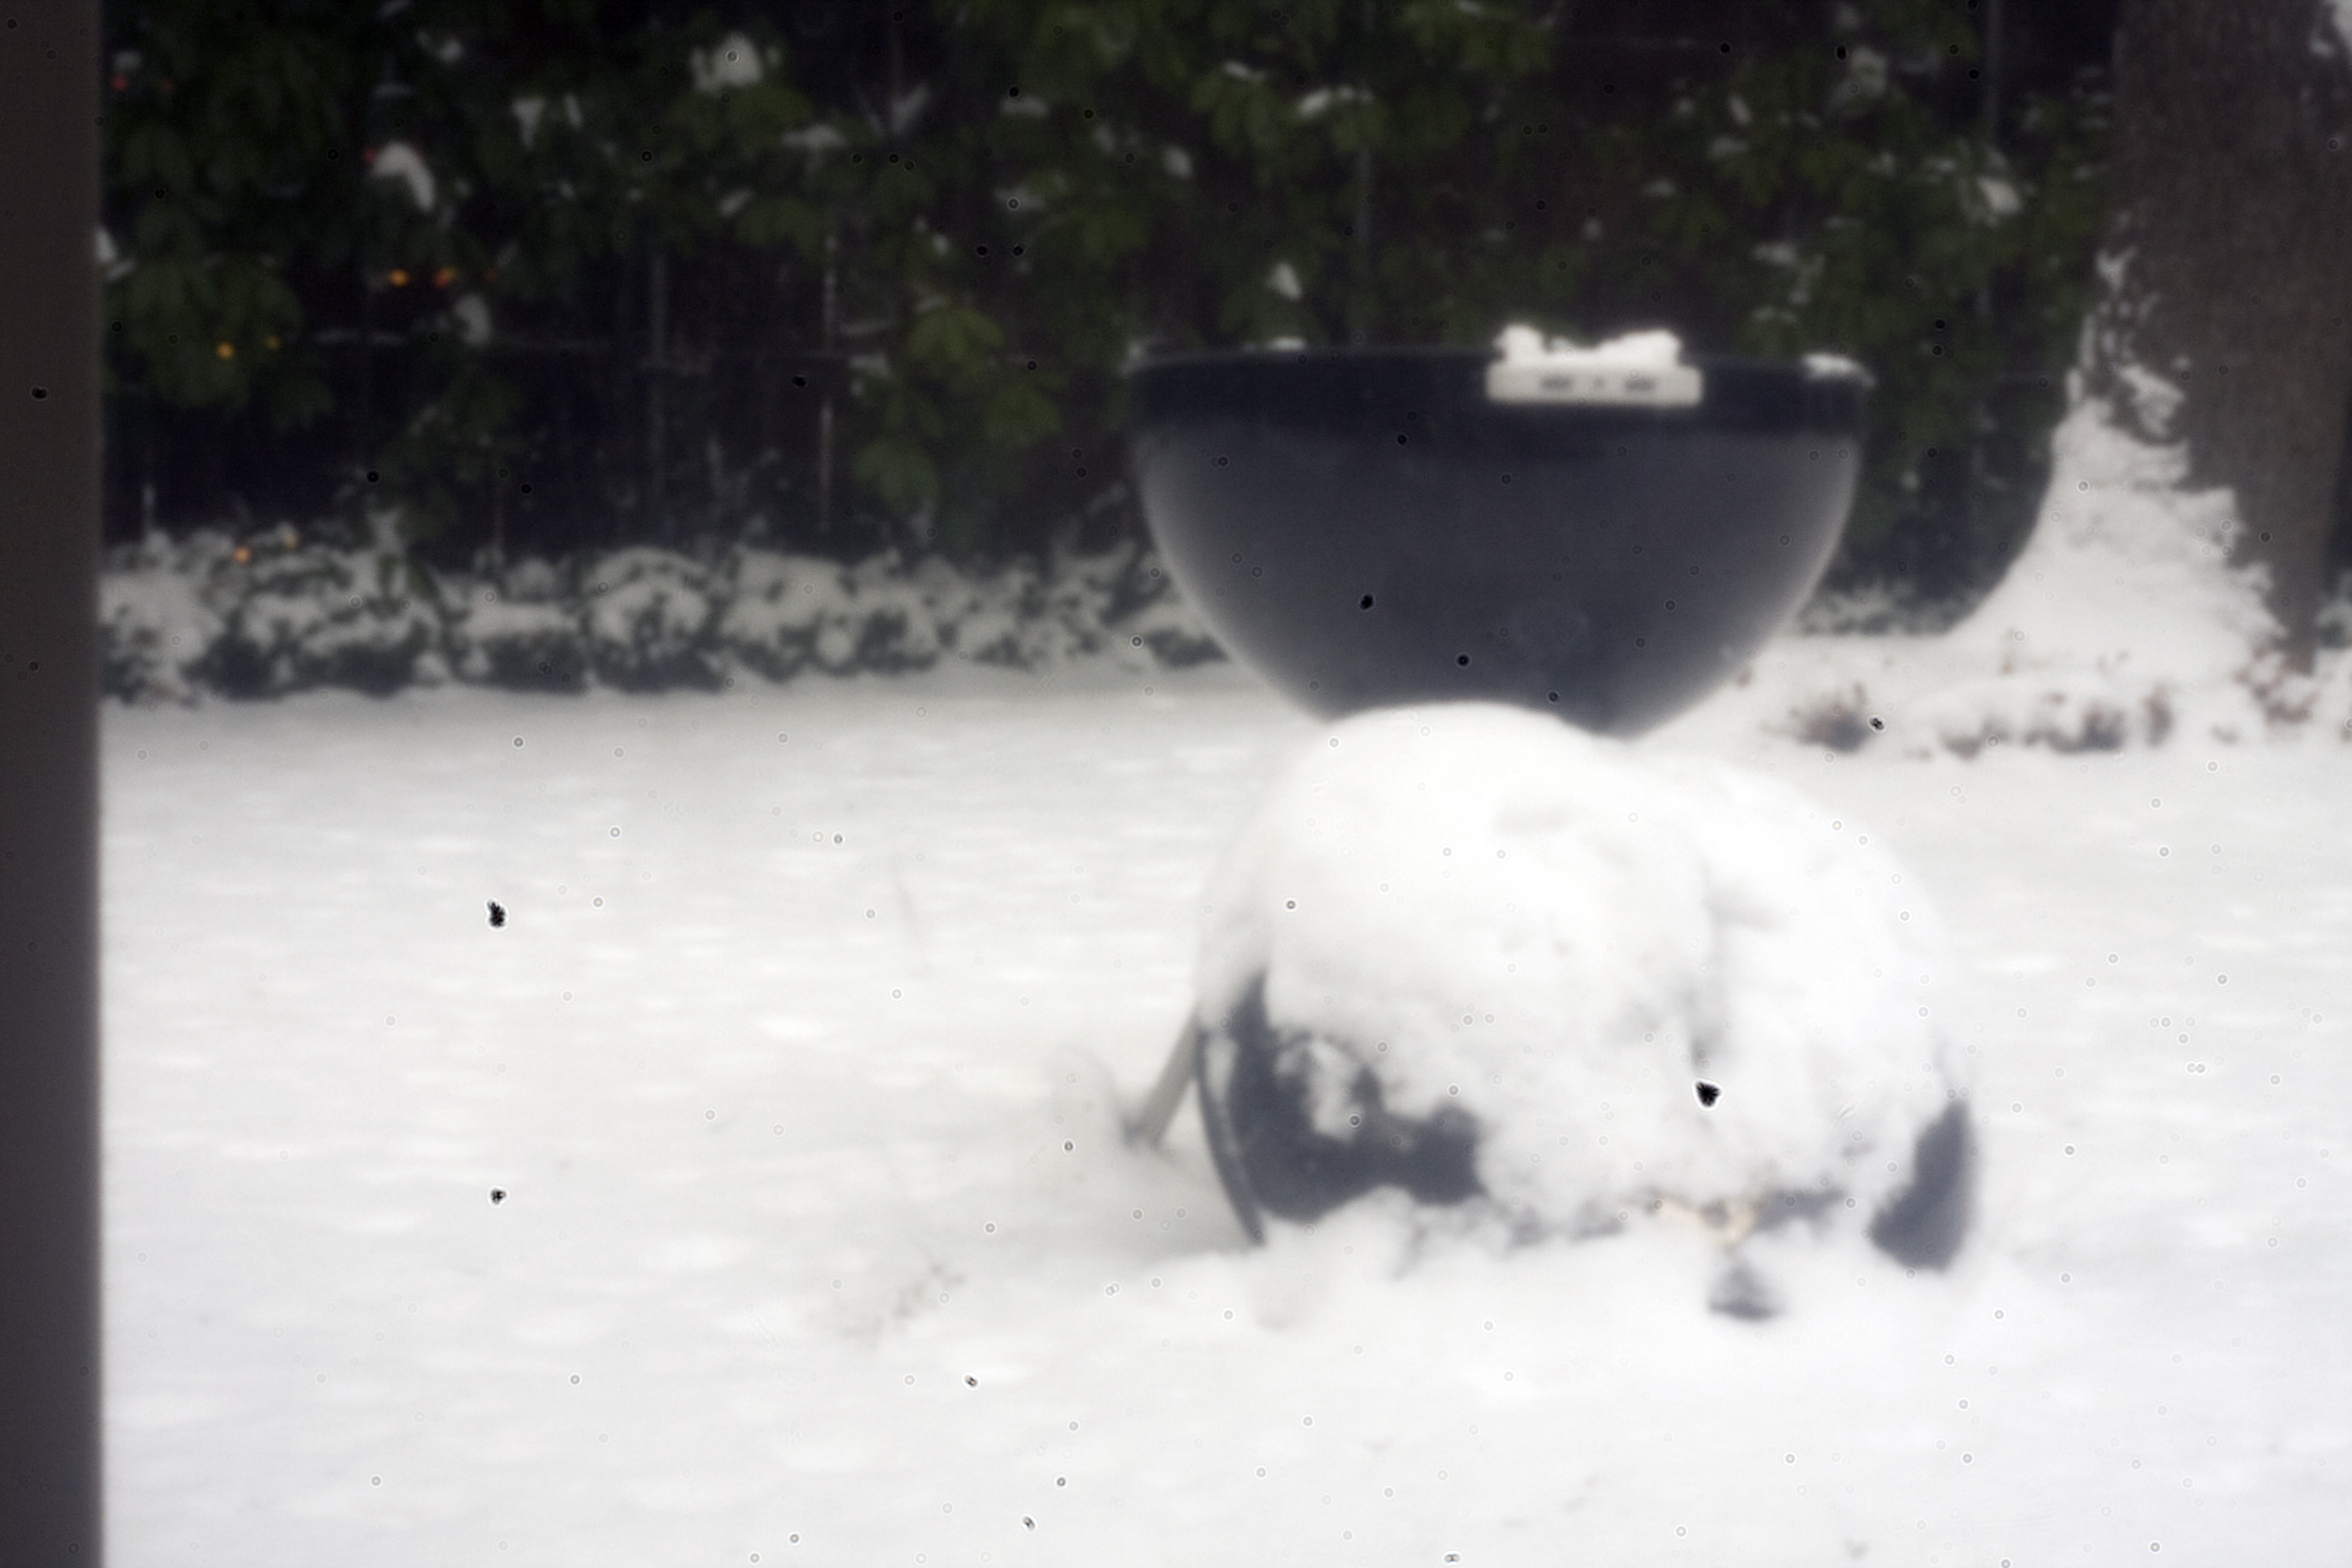
This was shot at f 166, 4 second exposure
Finally, I have taken (almost) the same image with the pinhole cap and my Canon 24-70L series with the zoom at 50mm to show you an example of what to expect.

Shot at f 22, 1/25
As you can see upon further examination, my image sensor needs to be cleaned. Next up in Gadgets and Gizmos: image sensor cleaning kits. A how-to and are they worth it?
A Photo Story from North Brother Island
Okay people, I am a sucker for the photo essay so I will likely be posting a lot of them here. Enjoy!
First, I bring you a story-in-images from photographer Richard Nickel, Jr. He recently paid a visit to North Brother Island, an island off the coast of New York in the East River. North Brother Island was home to a hospital intended to quarantine smallpox patients in the late 1800s. The hospital later expanded to include quarantine patients of many diseases, including the infamous “Typhoid Mary.” Over the years the hospital has closed and reopened a number of times, once to house war veterans, once to rehabilitate drug addicts. This hospital was closed in the 1960s due to staff corruption. Nickel visited the island and documented what remains. Check out the full photo essay on Nickel’s blog.

The refrigeration room in the morgue. Individual cabinets for corpses were not used in this morgue. Mary Mallon – widely known as Typhoid Mary – worked in the pathology lab in the same building during her second confinement on the island.©Richard Nickel, Jr.

A typical two-room dorm inside the nurses’ residence. One half provided sleeping quarters for 1 or 2 nurses, and the other half was a lounge area, with a private sink. ©Richard Nickel, Jr.
About Me
After a photojournalism degree and a short stint as a lead photographer/photo editor at a news web site, I decided it was time to branch out on my own. I specialize in editorial food and travel photography but dabble in a little bit of everything.